


Yes, most structured flat brims can be curved with gentle heat and steady shaping, no scissors or gimmicks required. Start with the mug or can overnight method, or a short blast of steam, and skip anything involving sharp folds. If you’re unsure how your hat’s brim will react, ease into it. You can always go back for more curve, but you can’t undo a crease.
TL;DR:
- Most structured flat-brim hats can be shaped with gentle heat and steady pressure, avoiding sharp folds or excessive force that cause permanent damage.
- Using a mug or can overnight provides a safe, gradual way to achieve subtle curves, especially for beginners, with broad shapes requiring a wider object.
- Steam shaping offers more control, allowing you to mold the brim with thumbs while attention is paid to even pressing and cooling, minimizing creases.
- Avoid online tips involving sharp creasing, hard clamps, or soaking felt or wool for extended periods, as these damage the internal core and reduce reversibility.
- Consistent patience and gradual adjustments are key; a gentle, modest curve often looks better and lasts longer than exaggerated, forceful bends.
Table of Contents
- How to curve a flat brim: tools and prep that matter
- Mug or can method: the overnight approach
- Steam shaping for more precise control
- Hand-bending and quick warm-water tweaks
- Methods to avoid and what to use instead
- Fixing uneven curves and keeping the shape long term
- Why Plaid Gorilla Golf trusts this approach
- What actually matters when you curve a brim
- Get a hat that’s built to hold the curve you shape
- Sources
- FAQ
How to curve a flat brim: tools and prep that matter
Before you touch heat to felt or foam, get your setup right. Most brim damage comes from rushed prep, not the shaping itself.
Grab these before you start:
- A coffee mug, can, or rolling pin (something clean and the right diameter for the curve you want)
- A kettle or handheld steamer, or a hairdryer as backup
- A soft, lint-free cloth
- Rubber bands or a dedicated visor curving band
- A flat, dry surface to work on
Structured caps like the Country Club Snapback usually have a stiffened core inside the brim, often cardboard or a buckram layer, wrapped in wool, cotton twill, or a polyester blend. That core is what holds the shape once you set it, and it’s also the part most likely to crease permanently if you’re rough with it. Wool and cotton respond well to gentle heat. Polyester blends need slightly less heat exposure since synthetic fibres can scorch or go glossy faster than natural ones.
Shape a clean, dry brim. Dirt trapped in the fabric can shift unevenly under heat, and hat-care specialists at Hat Club point out that grime causes patchy, uneven results rather than a smooth arc. A light dampness from steam is fine. Soaking is not.
Pro Tip: Test your hat’s reaction on a small section first, near one edge, before committing to a full curve across the whole brim.
Keep your hands clear of direct steam, never run a brim under boiling water, and treat every adjustment as reversible until you’re sure it isn’t.
Mug or can method: the overnight approach
This is the safest entry point if you’ve never shaped a brim before, and it’s the one worth trying first.
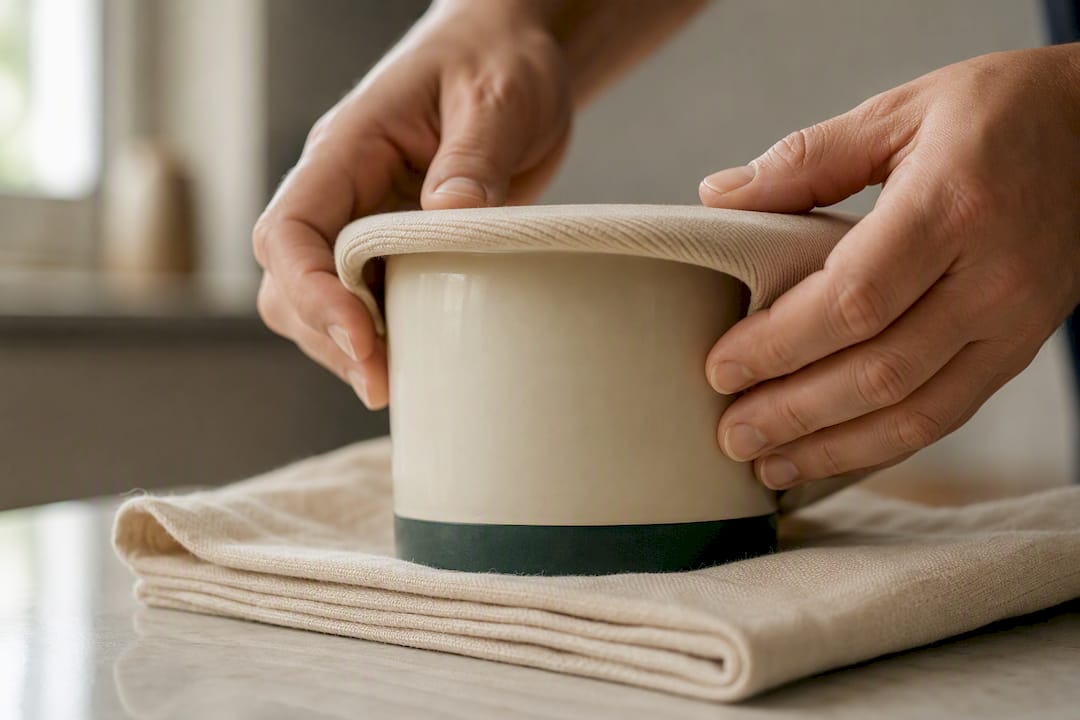
- Pick your shaper. A wider mug (roughly 3 to 3.5 inches across) gives a subtle curve. A narrower can gives something closer to a tight, classic arc.
- Warm the brim slightly. A 10 to 15 second pass with a hairdryer on low heat, held a few inches away, makes the material a little more cooperative before you bend it.
- Centre the brim on the shaper. Line up the middle of the brim with the middle of the mug or can, then wrap the sides down evenly on both sides.
- Secure it. Use rubber bands, a visor curving band, or a folded cloth tied loosely around the shaper to hold the wrap in place.
- Leave it for eight hours or more. Overnight is ideal. The mug method works because the brim’s internal materials gradually take the shape of the object they’re wrapped around, and the diameter you choose directly controls how tight that curve ends up.
If the curve isn’t deep enough after one round, repeat the process with a slightly narrower object rather than forcing more bend on the first try.
Pro Tip: Rotate which mug or can you use if you’re building toward a deeper curve gradually. Jumping straight to a narrow can after a flat brim often overstresses the core.
Steam shaping for more precise control
Steam gives you more control than the overnight method because you’re shaping while the material is at its most pliable, not guessing how it’ll set overnight.
- Boil a kettle or fire up a garment steamer. Hold the brim about 6 to 8 inches from the steam source. Any closer and you risk scorching the fabric or burning your hands.
- Move the brim through the steam in slow passes. Don’t hold one spot still. Sweep it back and forth for 15 to 20 seconds at a time.
- Check pliability by touch. The brim should feel soft and slightly warm, not wet through. If moisture is beading on the surface, you’ve gone too far.
- Shape with thumbs underneath, fingers on top. Work from the centre out toward each edge in one smooth motion. Pressing evenly from the middle first avoids the dreaded centre crease that ruins the line of the curve.
- Hold the shape while it cools. Fifteen to thirty seconds of steady pressure is usually enough for the brim to set. The material needs to cool while held in position for the curve to actually take, so don’t let go the second it feels warm.
- Repeat in short bursts if needed. Small, repeated steam sessions get you a more even result than one long blast.
Style commentary from GQ backs a gradual approach here too: start subtle, test how it looks and fits, then add more curve only if you want it. A slight arc is more versatile across face shapes than a dramatic one, and it’s far easier to deepen a subtle curve than to soften an aggressive one.
Hand-bending and quick warm-water tweaks
Not every adjustment needs a full shaping session. Sometimes you just want to knock a slightly stiff edge into a softer line, and that calls for something lighter.
- A short 5 to 10 second hairdryer burst on low heat, followed by hand pressure, works for minor tweaks.
- Warming the brim in your hands (rubbing it gently between your palms for a minute) can loosen up mild stiffness without any tools at all.
- Brief exposure to hot (not boiling) water on a cloth pressed against the brim is acceptable in small doses, but full soaking risks softening the internal core too much, which weakens its ability to hold any shape at all.
- Hold the brim in your desired curve for 30 to 60 seconds while it cools, then check the fit against a mirror or your head before deciding if it’s done.
If a small adjustment isn’t getting you the curve you want after two or three attempts, stop forcing it by hand. Switch to the mug method or steam instead. Trying to muscle a deeper curve out of bare hands is one of the more common ways people end up with a lopsided brim.
Methods to avoid and what to use instead
Some tricks that circulate online do more harm than good, and a few are worth naming directly.
- Sharp folding or creasing the brim in half. Hat-care guides consistently warn that a centre fold formed this way is usually permanent and nearly impossible to remove.
- Tight rubber bands cinched hard against the fabric. These can leave visible indent lines that don’t relax over time.
- Clamps, pliers, or anything with hard edges. These concentrate pressure on one small area instead of distributing it, which is exactly how you dent a cardboard core.
- Soaking felt or wool brims for extended periods. Craft guides for shaping felt hats recommend steaming section by section instead of full submersion, which keeps the material controlled rather than saturated.
If you’ve already overdone it, don’t panic. A slow re-steam followed by gentle reshaping can often correct a mild overbend. A hat with a rigid cardboard core is more forgiving of light, repeated warming than one aggressive attempt, but once that core creases permanently, replacement of the hat is typically the only real fix.
Pro Tip: If a curve looks too aggressive right after shaping, don’t try to fix it while the material is still warm. Let it cool completely first so you can judge the actual result.
Fixing uneven curves and keeping the shape long term
An uneven curve is almost always fixable if you catch it early. Run the brim through a second round with the mug method, or target just the flatter side with a quick steam burst and hand pressure. Minor creases near the edges often soften with a light steam pass and a few minutes of gentle finger pressure, worked from the crease outward.
Some damage doesn’t come back, though. If a fold line stays sharp and visible after two or three reshaping attempts, particularly along the centre where the cardboard core lives, that crease is likely permanent. At that point, it’s a cosmetic trade-off you either live with or a sign it’s time for a new hat.
Once you’ve got the curve you want, protecting it is mostly about storage habits:
| Maintenance habit | Why it matters | How often |
|---|---|---|
| Store on a hat rack or curved surface | Keeps the brim from flattening back out under its own weight | Ongoing, between wears |
| Use a visor guard when packing or travelling | Prevents crushing in bags or car seats | Every trip |
| Re-shape lightly | Refreshes the curve as material relaxes with wear | Every few weeks with regular use |
| Clean with the right method | Harsh washing can warp the brim core along with the fabric | As needed, check our hat cleaning guide |
A brim that’s held its shape for months usually just needs a light touch-up steam every so often rather than a full reshaping session. If the fit ever feels off after reshaping, our hat sizing guide can help you confirm it’s still sitting right on your head.
Why Plaid Gorilla Golf trusts this approach
Plaid Gorilla Golf builds hats meant to be worn hard and shaped to fit your style, not left flat in a box. The methods in this guide line up with what our own hat-care content has recommended for restoring and maintaining shape on structured caps.
A few things worth knowing about where this advice comes from:
- This guide was written by Mike at Plaid Gorilla Golf, drawing on the brand’s ongoing hat-care and restoration content.
- Our guide to restoring hat shape at home covers deeper reshaping fixes for hats that have lost their structure entirely, not just brim curves.
- The Country Club Snapback in Navy/Cloud White uses a structured brim that responds predictably to the mug and steam methods above, which makes it a solid pick if you want a hat you can shape to your own style right out of the box.
- If you’re deciding between an adjustable snapback or a fitted cap for shaping, our piece on why golfers choose adjustable hats breaks down the fit differences that matter here.
What actually matters when you curve a brim
Most advice on this topic focuses on the wrong variable. People ask which method is “best,” mug, steam, or hand-bending, when the real factor is patience. Every method in this guide works. What separates a clean curve from a ruined hat is whether you stopped at “good enough” on the first attempt or kept forcing it because the curve wasn’t dramatic enough fast enough.
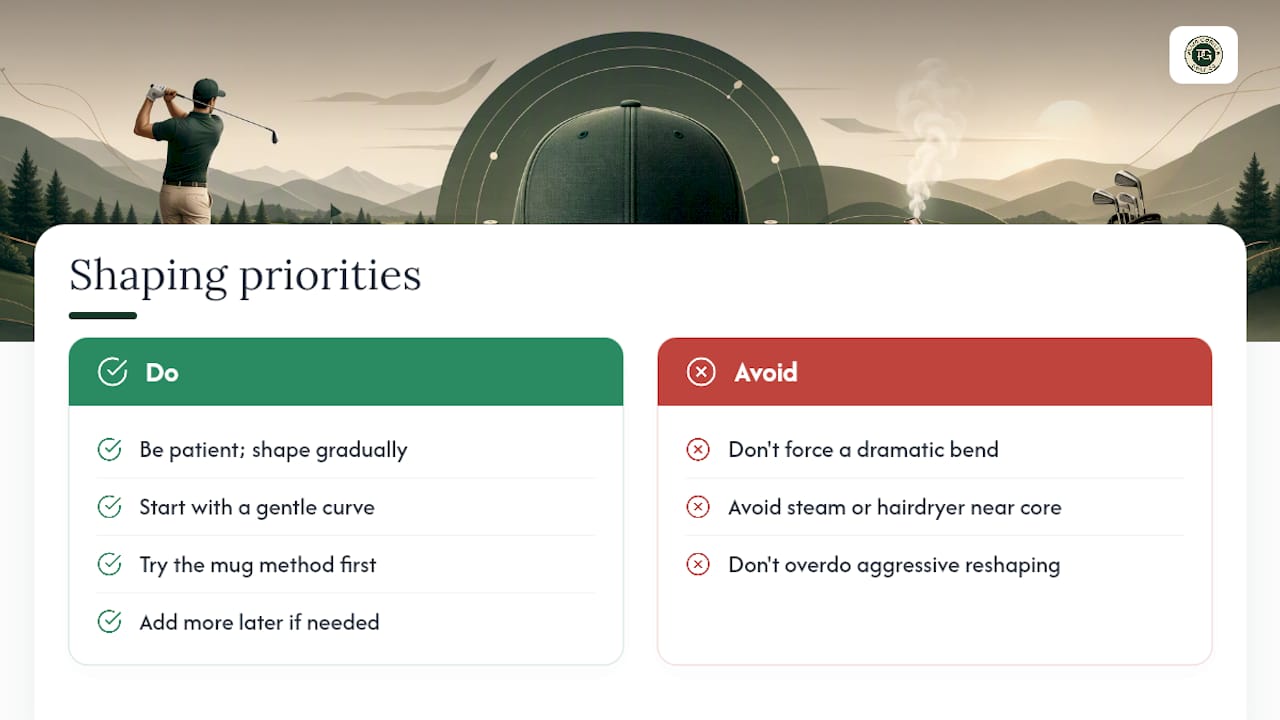
The conventional wisdom oversells aggressive reshaping. A flat-brim hat doesn’t need a tight, exaggerated curve to look intentional. A subtle arc, the kind you get from one overnight mug session, often reads better than a hard bend that screams “I just did this five minutes ago.” If you’re new to shaping caps, prioritize getting one gentle curve right before you touch steam or heat at all. The mug method forgives mistakes. Steam and hairdryers don’t, especially near a cardboard core.
Do the small version first. Add more later if you still want it.
— Mike
Get a hat that’s built to hold the curve you shape
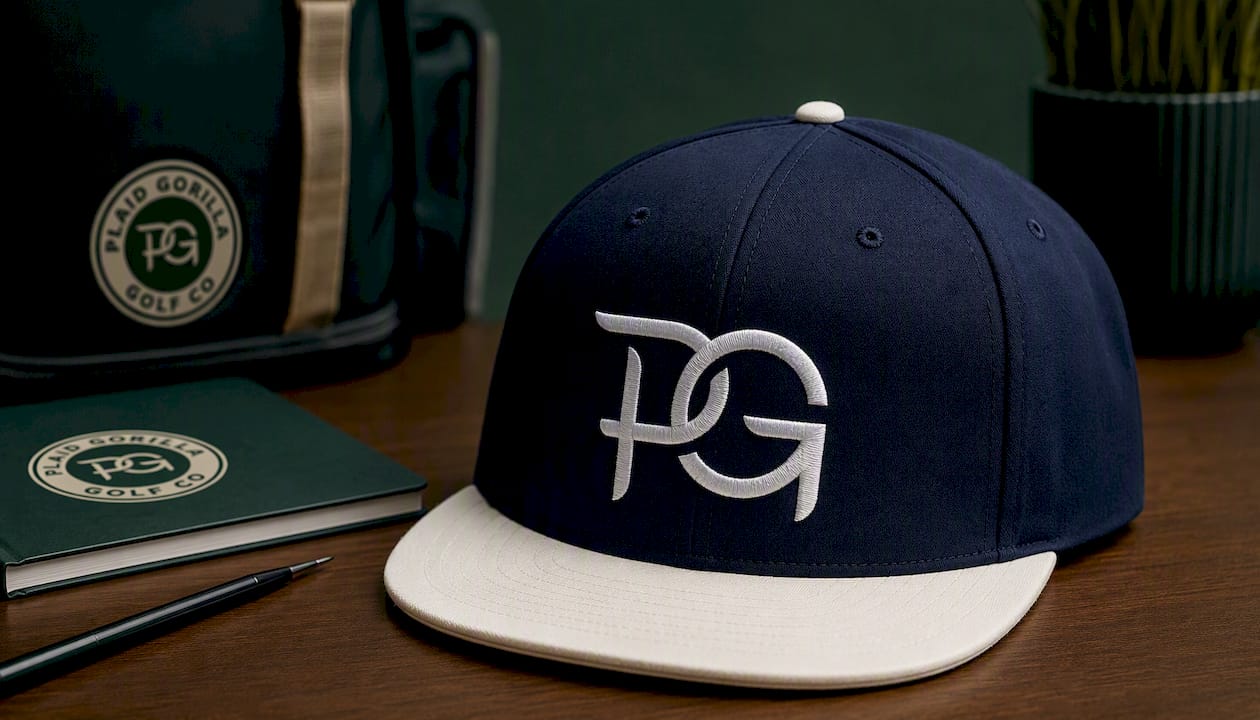
This brand makes gear for golfers who want their hat to look like their own, not off a factory template. The Country Club Snapback in Navy/Cloud White has the kind of structured brim that takes a shape and keeps it, whether you’re going for a subtle bend or something with more curve to it.
If you already own one of our caps and want to keep the shape looking sharp after you’ve curved it, our hat cleaning guide walks through washing methods that won’t undo the work you just put in. Check out the Country Club Snapback product page for sizing details and colour options, then pick up your own if you’re ready for a cap you can genuinely make your own.
Sources
A few outside sources helped shape the advice in this guide, worth a look if you want more detail or a visual walkthrough:
- The debate on bending a flat brim hat
- Should you bend your hat brim? | GQ
- How to curve your hat brim like a pro | Hat Club
FAQ
Can you make a flat brim hat curved?
Yes. Most structured flat-brim hats can be curved using a mug or can overnight, or short bursts of steam followed by hand shaping, without damaging the hat if you go gradually.
Is it okay to bend a flat brim hat?
Bending a flat brim won’t ruin it as long as you use gentle, even pressure. Damage mostly comes from sharp folding, excessive force, or harsh tools like clamps, not from bending itself.
Are flat bill hats meant to be curved?
Flat bills are designed to be worn flat, but the internal materials in caps like the Country Club Snapback are flexible enough to take on a curve if you want a more traditional look.
How do you reshape a flat brim hat?
Warm the brim slightly with a hairdryer or steam, then mould it by hand from the centre out to each edge, or wrap it around a mug or can and leave it overnight to set the shape.